
DIY vs Professional Air Duct Cleaning: What You Can (and Cannot) Do Yourself
Search "DIY air duct cleaning" and you will find two kinds of advice: videos promising that a shop vac and a drill brush can replace a professional cleaning, and cleaning companies insisting you should never touch your own ductwork. Both are wrong. We clean ducts for a living, and this is the honest split — the maintenance you should absolutely do yourself, the physics of why the deep-cleaning part cannot be done with consumer tools, and the handful of situations where a well-meaning DIY attempt leaves your air worse than before you started.
What Air Duct Cleaning Can You Actually Do Yourself?
More than most duct cleaning companies will admit. The parts of your system you can see and reach respond well to basic tools and an hour of effort, and doing this work on a regular schedule genuinely stretches the time between professional cleanings. Here is the honest DIY list:
- Change your filter on schedule. This is the single highest-impact thing any homeowner can do for their ductwork and their air. Check it monthly, change it when it loads up gray, and buy the best filter your system's blower can handle.
- Wash supply registers and return grilles. Most lift out or unscrew in under a minute. Warm soapy water, a rinse, and a full dry before reinstalling — wet metal in an air stream collects dust twice as fast.
- Vacuum inside the supply boots. A vacuum hose reaches the first 2 to 3 feet of each duct — the boot and the start of the run. That is where dropped debris, pet hair, and the heaviest visible dust actually sit, especially in floor vents.
- Wipe the return grille and the wall around it. Returns are under suction whenever the system runs, so matted dust shows up there first. A damp cloth every month or two keeps it from felting over.
- Keep returns unblocked. Furniture, rugs, and curtains pushed against a return starve the system of airflow and force it to pull air — and dust — through every gap it can find.
- Clean the dryer lint screen every load and check the exterior flap. Pull the screen after each cycle and make sure the outside vent flap opens when the dryer runs. This does not replace an annual vent cleaning — see our dryer vent fire safety guide for why — but it slows the buildup between them.
- Photograph inside a duct once a year. Pull one register, put your phone in with the flash on, and take a picture. The camera sees several feet down the run — farther than your eye — and gives you an honest record of how fast your home actually loads up.
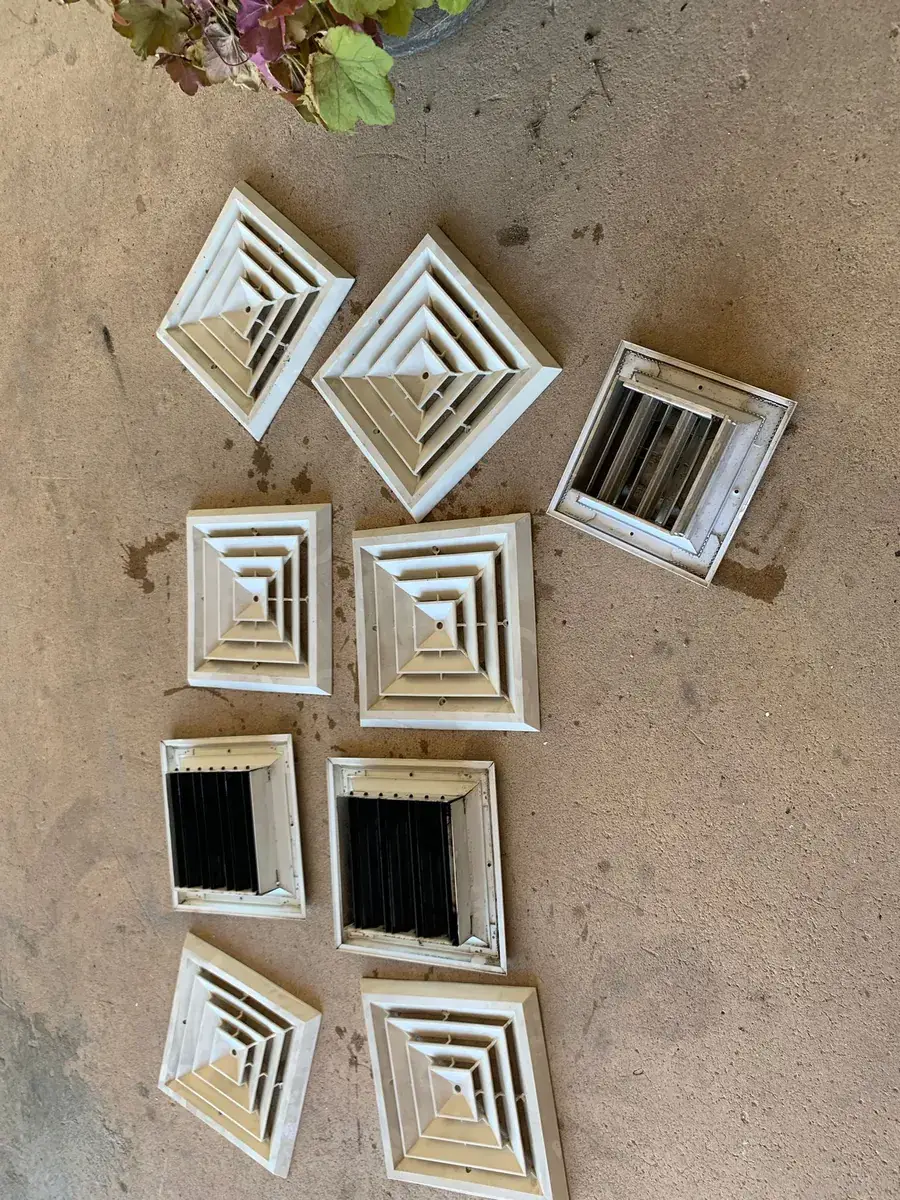
None of this is busywork. Dust generation in a lived-in home never stops — cooking, carpet, clothing fibers, skin, pets — and the DIY jobs above intercept most of it before it ever settles deep in the duct system.
Why Can't a Shop Vac Do Source Removal?
Because suction is not reach. A shop vac moves a lot of air right at the end of its hose, but that suction collapses within inches of the nozzle. Hold your hand a foot away from a running shop vac hose and you will barely feel a pull. Now picture that hose stuck into one register of a duct system with dozens of feet of supply runs, return drops, elbows, and trunk lines. You are cleaning the first foot or two of one branch and leaving everything else untouched.
Professional source removal works on the opposite principle. Instead of chasing debris register by register, a negative-pressure machine connects directly to the trunk line or plenum and puts the entire duct network under continuous vacuum, exhausting through HEPA filtration. With that containment running, the technician works from every register toward the machine with air whips and compressed-air agitation tools, knocking the settled, matted layer off the duct walls. Loosened debris has exactly one place to go: down the line, into the collector. Not into your living room.
Agitation without containment is just redistribution
That sentence is the entire case against shop-vac duct cleaning. The dust that matters — the layer bonded to duct walls after years of settling — does not move under airflow alone. It has to be mechanically agitated loose. But the moment you agitate it without the whole system under negative pressure, you have converted settled dust into airborne dust, and the next time the blower kicks on, it delivers that dust to every room in the house. A shop vac is sized to pick up debris at the end of its own hose; a negative-air machine is sized to hold an entire duct system under vacuum while someone deliberately stirs it up. They are two different tools for two different jobs, and only one of them is cleaning.
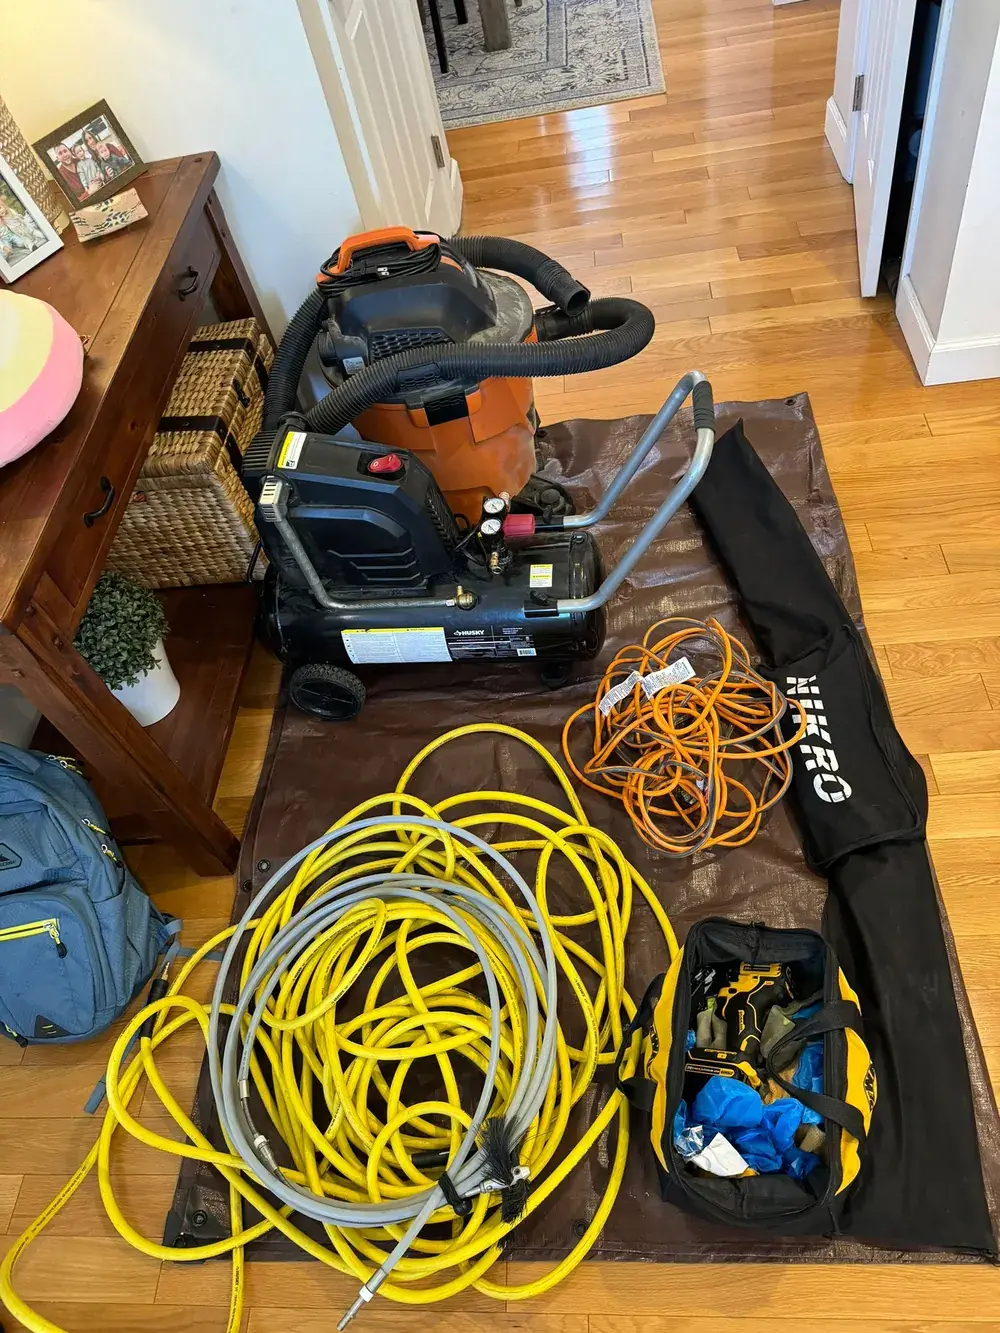
This is the method we use on every air duct cleaning job — professional Nikro negative-pressure machines, agitation tools, and HEPA filtration, with a free video inspection inside the ducts before any work and after-photos when we are done. You can see each step on our process page.
What About Rental Duct Cleaning Equipment?
Some hardware and home-improvement stores rent rotary brush kits: a motorized or drill-driven brush head on flexible rods, sometimes with a vacuum port. On paper it sounds like the professional setup at a fraction of the price. In practice, three problems show up fast.
First, there is still no negative pressure. A rotary brush is an agitation tool. Agitation, as covered above, is the dangerous half of the job — the half you should never run without the whole system under vacuum. A rental brush knocks the buildup loose and then leaves it sitting in the run, or floating in your air, or resting on your blower. The small vacuum ports on consumer kits capture what happens to pass the port, not what the brush flings ahead of it or behind it.
Second, brushes damage ducts you cannot see. Rigid sheet metal tolerates a spinning brush. Flex duct — the plastic-and-wire coil ducting used in most attics, ceilings, and newer additions — does not. A rotating brush head can snag the inner liner, wrap it, and tear it, and a torn flex run hidden in a ceiling costs more to find and replace than a professional cleaning ever would. Duct joints are another casualty: rods pushed hard around elbows can knock unsealed connections apart inside walls, and you will not know until rooms stop getting airflow.
Third, you cannot verify anything. Rods follow one straight run at a time and stall at tees, elbows, and vertical drops. Without a camera you have no idea whether you cleaned thirty feet of duct or three. By the time you have rented the kit, spent a Saturday feeding rods, and still not touched the trunk lines or returns, you have spent real money and a full weekend day on a result no one can see, measure, or stand behind.
When Does DIY Duct Cleaning Make Things Worse?
Most DIY duct work is merely incomplete. These four situations turn it actively harmful:
Brushing or blowing without containment. The classic mistake: a drill brush or leaf blower in the supply runs with nothing capturing the output. The visible result is a dust cloud from the vents; the invisible result is hours of fine particles suspended in your air. If anyone in the home manages asthma or allergies, a containment-free "cleaning" can make the air noticeably worse for days — the opposite of what you were paying yourself to do.
Disturbing suspected mold. If you see dark, spotted, or fuzzy growth inside a duct or on a diffuser, stop. Do not brush it, do not vacuum it with a machine that lacks HEPA filtration, and do not spray it and hope. Agitating mold can spread spores through the duct system, and the growth will simply return if the moisture source is not fixed. Visible mold is one of the cases where duct cleaning is clearly warranted — done under negative pressure with HEPA containment, after the moisture problem is identified.
Damaging flex duct, ductboard, or joints. Covered above under rentals, but it applies to improvised tools too — dryer-vent brushes, weighted lines, pressure washers (yes, we have heard of it). Ducts are more fragile than they look, and damage hides in ceilings and chases where you will not see it.
Pushing debris downstream into the blower and coil. Shoving debris deeper instead of extracting it moves the problem to the most expensive part of the system. A debris-coated evaporator coil restricts airflow, hurts efficiency, and costs far more to clean professionally than the ductwork itself.
One more honest note: the U.S. EPA does not endorse routine duct cleaning as a proven fix for indoor air quality — for DIY or for professionals. If your ducts are already clean, neither a shop vac nor our truck will improve your air. Check first. Our guide on how often ducts actually need cleaning includes a five-minute self-check.
DIY vs Professional: Who Should Handle What?
| Task | Can you DIY it? | The honest note |
|---|---|---|
| Filter checks and changes | Yes | Highest-impact task in this table; check monthly |
| Washing registers and grilles | Yes | Soap, water, full dry before reinstalling |
| Vacuuming supply boots (first 2–3 ft) | Yes | Where the heaviest visible debris sits |
| Return grille and surrounding wall | Yes | Dust mats here first; damp cloth monthly |
| Dryer lint screen and exterior flap | Yes | Every load; annual professional vent cleaning still required |
| Full supply and return duct runs | No | Requires whole-system negative pressure plus agitation |
| Trunk lines and plenums | No | This is where the negative-air machine connects |
| Blower compartment and evaporator coil | No | Fragile and expensive; easy to damage, costly to fix |
| Anything with suspected mold | No | Needs HEPA containment and a fix for the moisture source |
| Post-renovation drywall dust | No | Fine dust spreads through the entire network; needs full source removal |
When Is It Worth Paying for Professional Cleaning?
When there is actually something to remove. Matted dust inside the returns, debris you could pick up with your fingers, a renovation that just wrapped, evidence of pests, a musty smell whenever the system runs, or a system that has never been cleaned in five-plus years — those are real reasons. A light gray film on shiny sheet metal is not. An honest company will tell you the difference, which is why every E Cleaning job starts with a free video inspection inside the ducts: if the camera shows clean ductwork, we say so and you keep your money.
When the time does come, the cost should never be a guessing game. Every E Cleaning job starts with a free video inspection, and you get a flat, written quote before any work begins — routine cleaning and deep cleaning scoped honestly as different services, no trip fees anywhere in our service area, no surprise invoice, no door-step upsell. What a whole-house cleaning should never cost is $49. That number is not a price; it is bait, and we wrote a full breakdown of how the $49 duct cleaning special actually works once the crew is in your basement.
Dryer vents deserve their own line here, because they are the one duct in your house where deferred cleaning is a safety issue rather than a dust issue. According to the U.S. Fire Administration (FEMA), an estimated 2,900 home clothes dryer fires are reported each year. Your lint screen habit helps, but the vent run itself needs a professional pass annually — dryer vent cleaning is a quick visit with a flat, written quote up front, so you know the exact number before we touch the dryer.
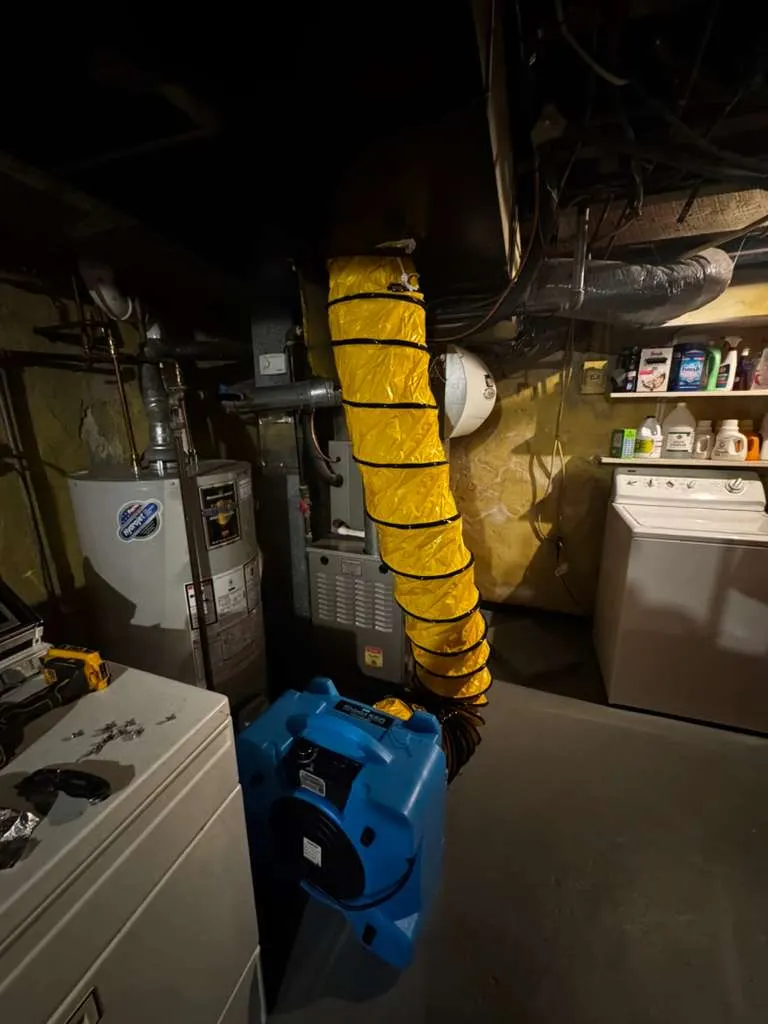
Keep the DIY list. Call us for the rest.
Wash your registers, change your filters, vacuum your boots — that work is yours, and it matters. When the camera shows buildup deeper than your vacuum hose reaches, that part is ours. E Cleaning is family-owned, serving Montgomery, Chester, Bucks, and Delaware counties since 2016 — PA licensed (PA 187935), insured up to $2 million, and Google Guaranteed, with video inspection before the work and after-photos when it is done.
